Your edges are thinning. Your ends split like gossip at a family reunion. You’ve tried silk scarves, satin bonnets, pineappleing—but nothing sticks long enough to stop friction damage overnight. And let’s be honest: most “protective” styles end up causing more tension than protection. The solution isn’t another $40 hair serum—it’s mastering Head Wraps like your hair depends on it (because it does).
Why Most People Fail at Protective Styling with Head Wraps
They treat head wraps as fashion accessories—not functional tools. Draping a flimsy polyester scarf over dry, brittle hair and calling it “protected” is wishful thinking. Friction doesn’t care about your aesthetic.
The real issue? Technique + material mismatch. Cotton t-shirt wraps absorb moisture but snag cuticles. Synthetic scarves slip off or create static. And if you’re tying knots directly on your hairline? You’re inviting traction alopecia—slowly, invisibly.
Protective styling only works when the wrap *reduces* manipulation, not adds to it.
How to Master Head Wraps in 3 Precision Steps
Step 1: Prep Hair Like You Mean It
Dampen strands slightly—never bone-dry, never dripping. Apply a lightweight leave-in or oil blend (argan + jojoba works). Distribute evenly with fingers, not a brush. This minimizes tangles during wrapping and locks in hydration overnight.
Step 2: Choose the Right Fabric for Your Climate
Satin feels slick but slips in humidity. Silk breathes but frays fast. Bamboo viscose? Underrated—soft, moisture-wicking, and naturally antimicrobial. For humid climates, go bamboo. For dry winters, charmeuse silk retains just enough ambient moisture without suffocating follicles.
Step 3: Wrap Without Tension on the Hairline
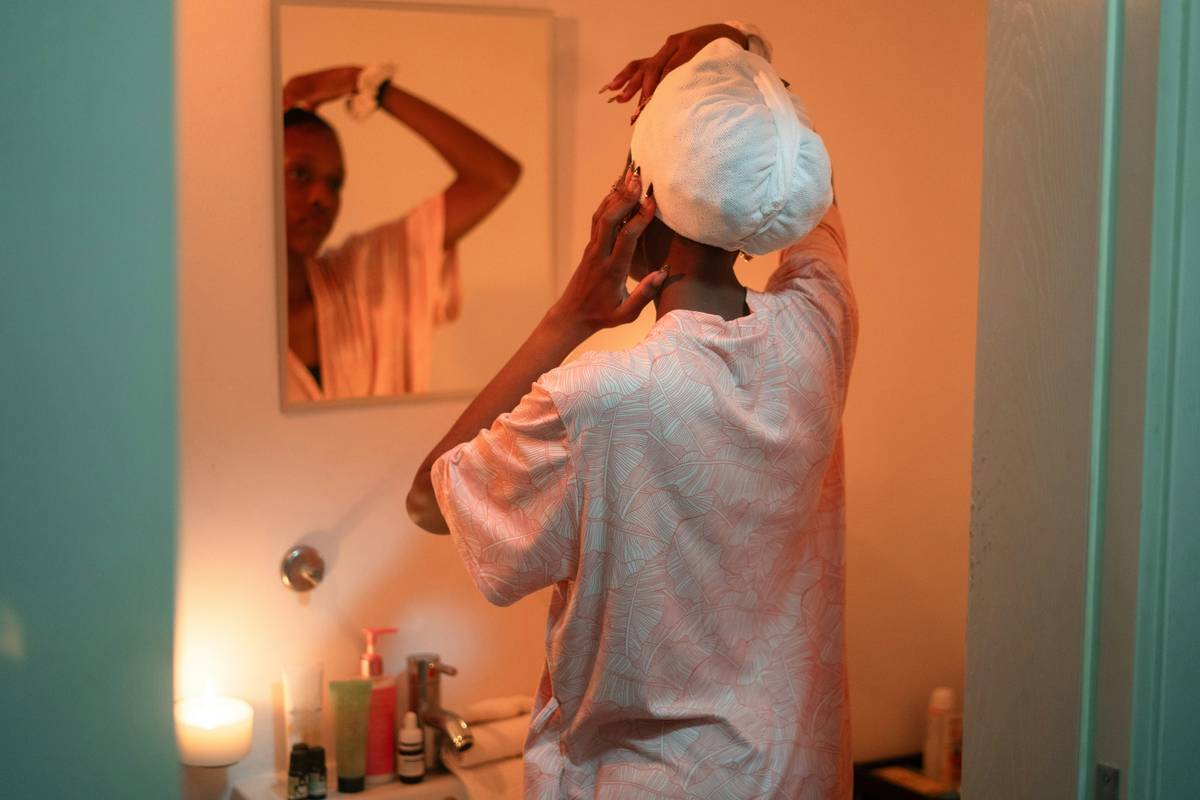
Never pull tight across the forehead. Instead, anchor the center of the fabric at the nape, bring both ends upward diagonally, cross them *above* the crown—not on the temples—and tie loosely at the back. The goal: zero pressure on baby hairs.
| Fabric Type | Friction Level | Moisture Retention | Budget-Friendly? |
|---|---|---|---|
| Cotton T-Shirt | High (rough fibers) | Moderate (absorbs but dries out) | Yes |
| Polyester Scarf | Low (slippery) | Poor (traps sweat, no breathability) | Yes |
| Charmeuse Silk | Very Low | Good (retains ambient moisture) | No ($25+) |
| Bamboo Viscose | Low | Excellent (wicks + regulates) | Mid-range ($12–18) |
The Industry Secret: Pros Layer Two Fabrics
Here’s what salons won’t tell you: elite stylists layer a thin silk cap *under* a bamboo or cotton outer wrap. Why? The inner cap prevents micro-friction; the outer layer provides structure and absorbs excess oil. It sounds excessive—until you see clients regrow edges in 4 months flat.
Think about it: your pillowcase is silk. Your bonnet is satin. But your wrap touches hair *directly* for 8+ hours. One layer isn’t enough if you’re serious about retention. The math is simple—less fiber-to-hair abrasion equals fewer broken strands.
Frequently Asked Questions
Can Head Wraps cause hair loss?
No—if tied correctly. Tight knots or daily tension on the hairline *will* cause traction alopecia. Keep wraps loose and reposition weekly.
How often should I wash my Head Wraps?
After every 2–3 uses. Oils, sweat, and product buildup breed bacteria that transfer back to your scalp. Hand-wash in cold water with mild detergent.
Are silk Head Wraps better than satin?
Natural silk (mulberry) is superior—smoother fibers, breathable, less static. But quality satin (not polyester) offers similar glide at lower cost. Avoid cheap synthetics.